
Holiday DIY
Looking for a fun DIY project this holiday?
A Giving Plate keeps the spirit of giving alive all year with a unique spin on hospitality. Create a plate, load it up with home baked treats and send it on it’s way to another home to be enjoyed, reloaded and gifted again. Your plate is not likely to come back home, but should it return for a visit, it shouldn’t stay long.
So put a smile on your neighbor’s face and start a wonderful tradition that keeps-on giving!

What you’ll need to proceed
- White glass plates (dollar store)
- Sharpies or paint pens
- Acetone (nail polish remover)
- Q-tips
Let’s Get Started
Create
Using your paint pens design a greeting or step-by-step instructions on your plate. It can be as simple as Enjoy, Refill, Pass. Add a decorative border and voila! The top is now complete.
Need a little design inspiration?
Pinterest is chock-full of ideas. If you come up with something original, be sure to PIN it!
The Bottom Message
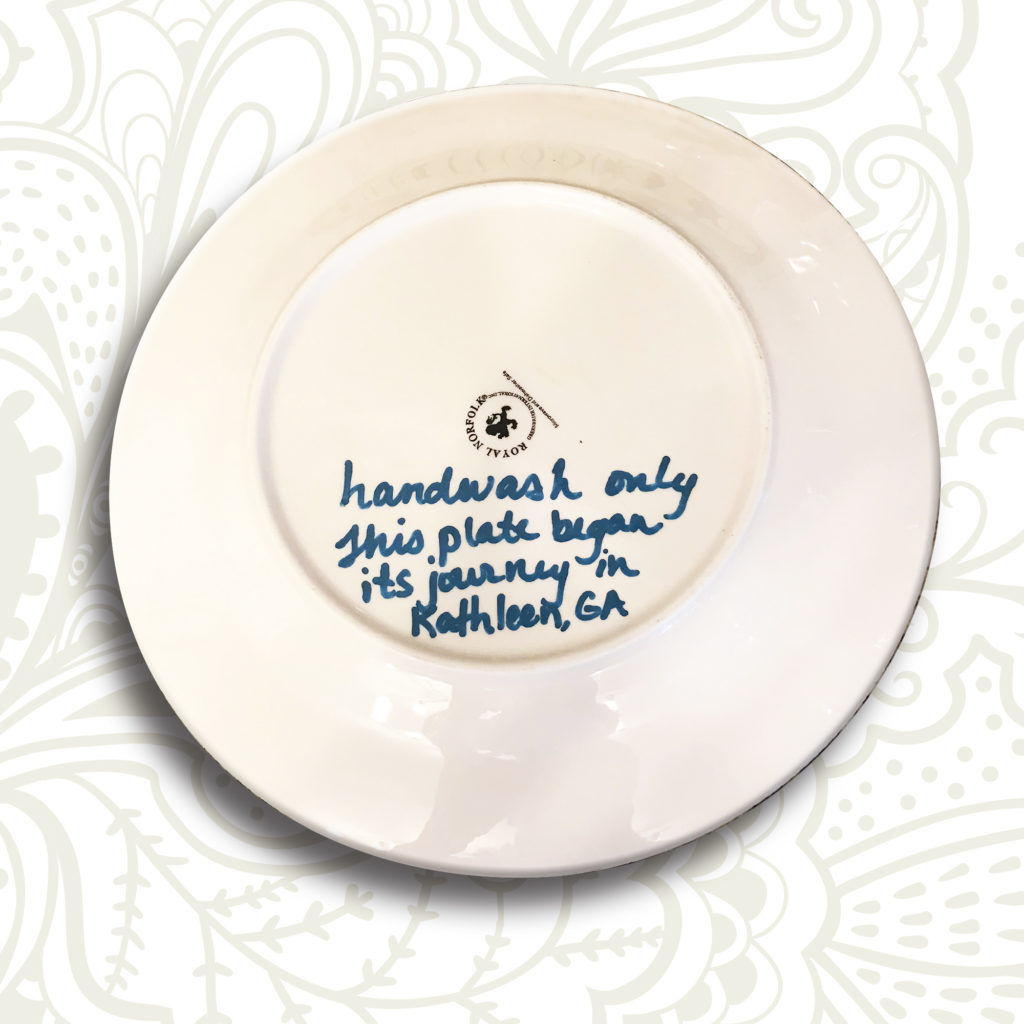
Because these plates have been known to travel far and wide, make sure you add to the back its origin, such as From the Family of________, city, state, date.
And, be sure to add Hand Wash Only to protect your plate for future use.
Cure
After you’ve finished your DIY giving plate let it cure, or dry for 24 hours at room temperature.
Bake
To set the colors you’ll need to bake it in.
Set the plate(s) in a cool oven. Turn oven to 350 degrees and allow the heat to rise with the plate(s) in it. Set the timer for 30 minutes and bake.
After 30 minutes turn off the heat and allow plate(s) to cool in the oven for a couple of hours.
Invite friends over and make it a party!
Fill your plate with something savory or sweet, cover with plastic wrap and deliver to someone special, maybe someone who needs a little lift this holiday.
Love the idea but don’t have time…
We’ve got you covered. Ready-made giving plates aren’t hard to find. You can grab one here!
Hugs out! Laura